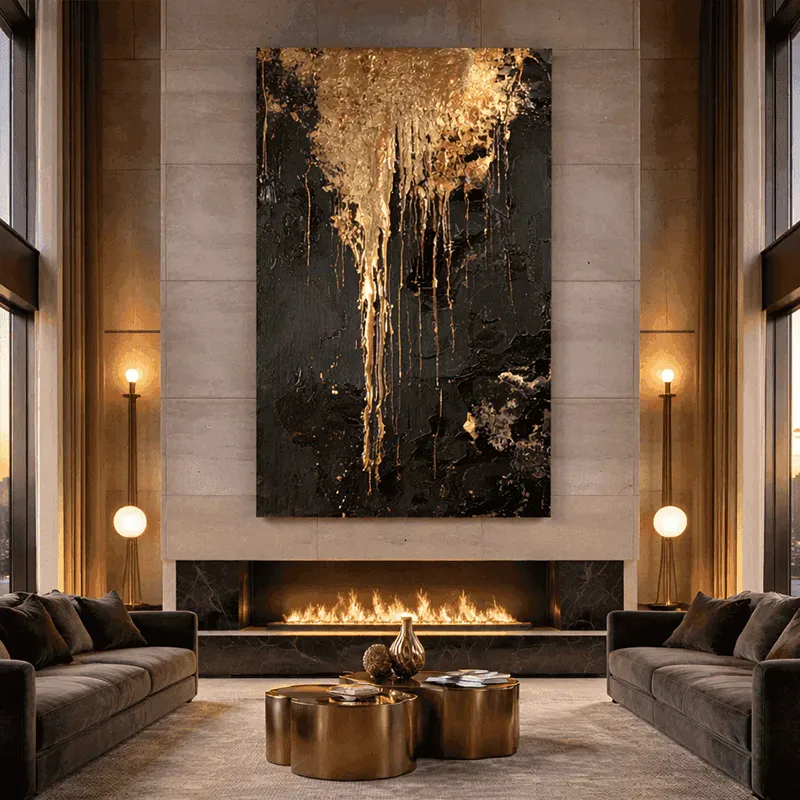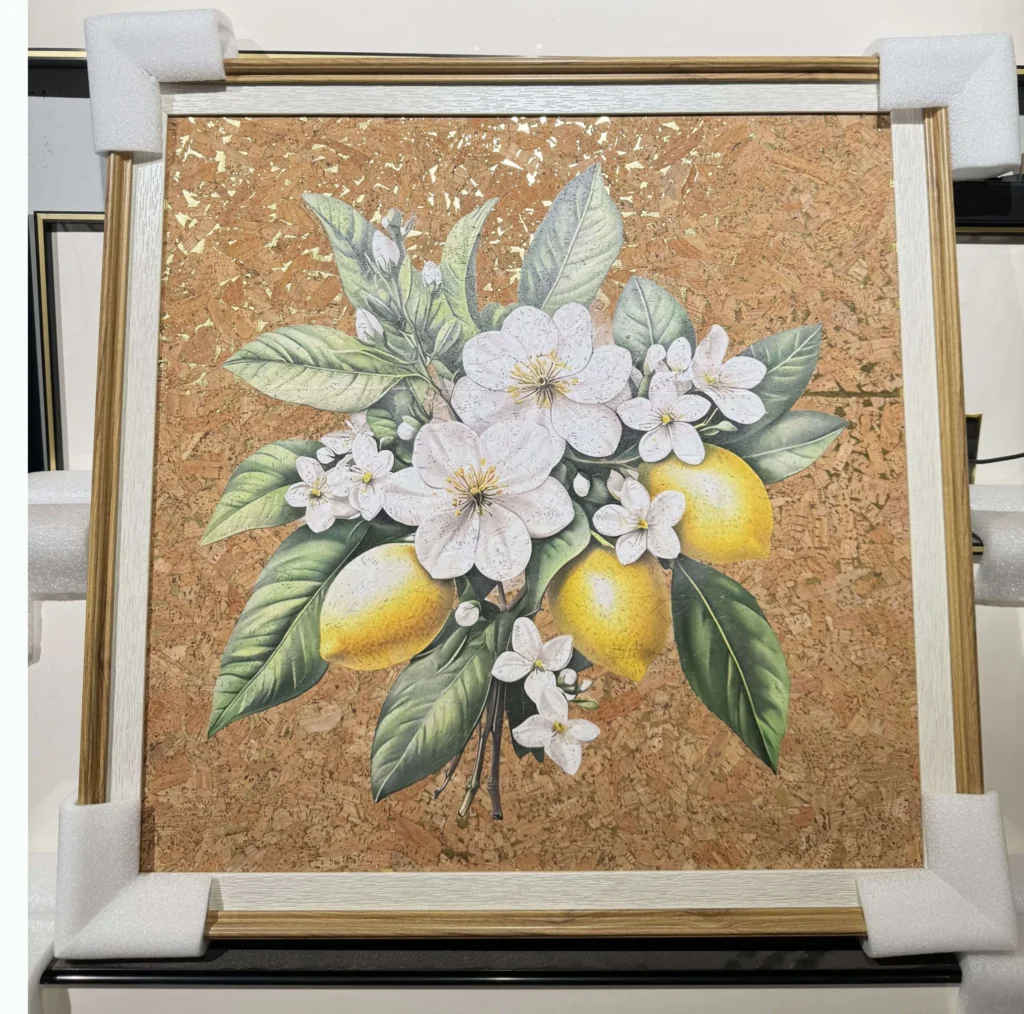
Concrete walls are common in homes, apartments, offices, hotels, and commercial interiors. However, their dense and hard surface makes wall art installation more difficult than hanging artwork on drywall or brick.
Nails may not penetrate properly, adhesive hooks can lose grip, and heavy framed artwork may eventually fall. For medium and large wall art, the safest long-term method is drilling a hole and using a suitable wall anchor.
Secure Concrete Wall Art Hanging for Home Design
A stable installation protects both the artwork and the people below it. With accurate measurements, the right drill bit, and a properly rated anchor, you can create a clean and reliable display for your home decor or interior design project.
Why Concrete Walls Need Proper Anchors
Concrete has a dense structure that ordinary nails cannot easily penetrate. Even if a nail enters the surface, it may loosen because it cannot create a reliable grip inside the wall.
Adhesive hooks and strong mounting strips work better for lightweight frames on smooth, clean surfaces. They are not suitable for heavy oil paintings, porcelain wall art, large framed pieces, or artwork with deep frames.
For heavier wall art, use a drill, a masonry bit, and a wall anchor with a load rating that exceeds the total weight of the frame.
Essential Tools for Concrete Wall Installation
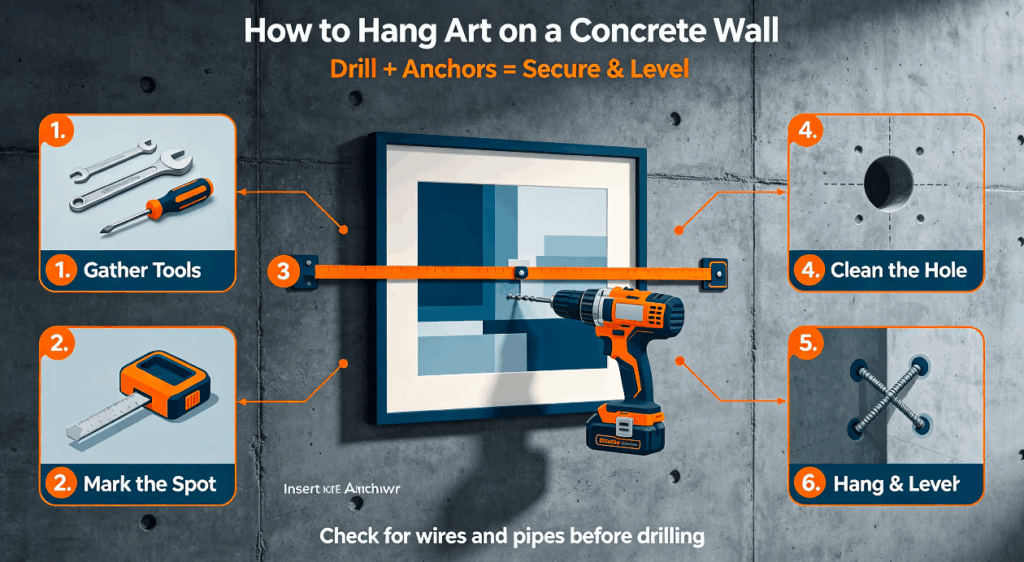
Prepare the following tools before starting:
- Hammer drill or rotary hammer
- Carbide-tipped masonry drill bit
- Plastic or metal wall anchors
- Matching screws
- Tape measure and pencil
- Spirit level
- Wall scanner or detector
- Vacuum cleaner or air blower
- Safety glasses and a dust mask
The correct anchor depends on the artwork’s weight, the wall condition, and the type of hanging hardware attached to the frame.
Concrete drilling can create dust and other work hazards. Before drilling, prepare the correct concrete bit, safety glasses, gloves, and a dust collection vacuum. The University of North Carolina’s concrete drilling safety guide also recommends using dust extraction and checking protective equipment before starting.
Step-by-Step Hanging Process
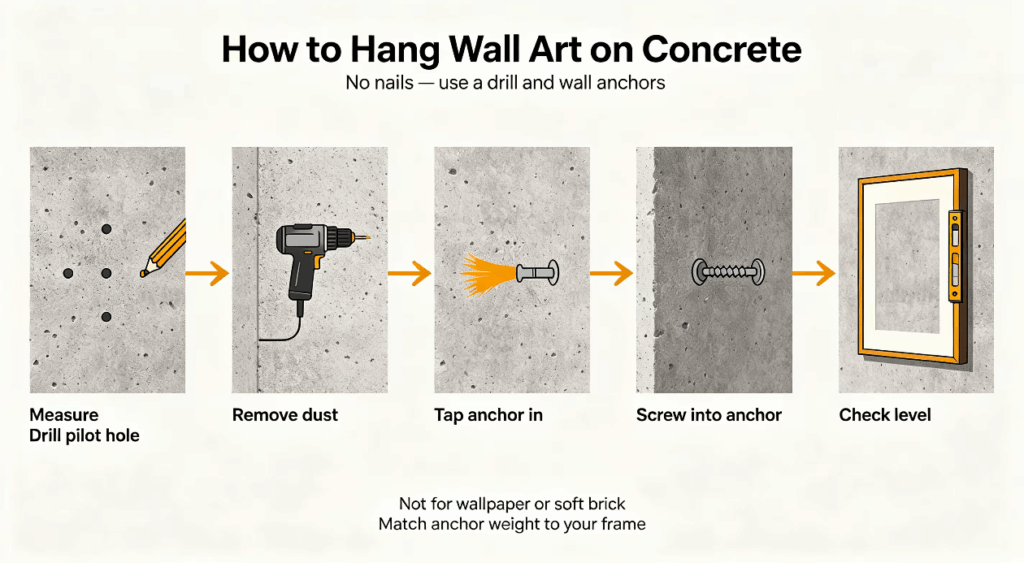
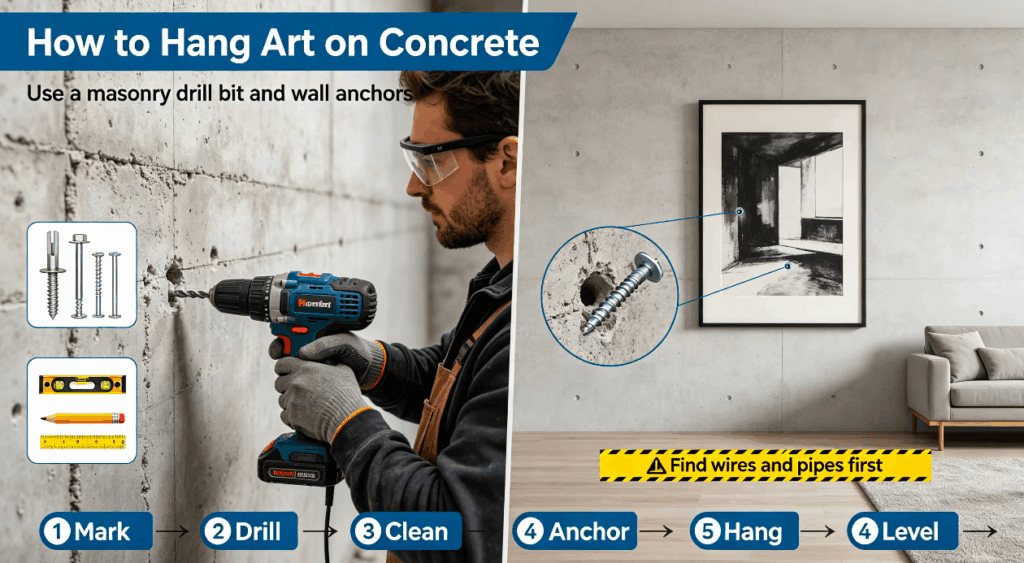
1. Check the Wall for Hidden Utilities
Before drilling, scan the area for electrical cables, water pipes, and other concealed services. This step is especially important in new apartments, renovated homes, offices, and commercial buildings.
If the wall contains post-tensioning cables or structural reinforcement in the planned drilling area, consult a qualified professional before continuing.
2. Measure and Mark the Position
Measure the artwork and the wall area carefully. Consider the height of nearby furniture, the total width of a wall art arrangement, and the viewing angle.
Mark the drilling point with a pencil. Then use a spirit level to check the horizontal alignment. For large or heavy frames, use two mounting points to distribute the load more evenly.
3. Drill a Straight and Controlled Hole
Fit the masonry bit into the drill and hold it at a 90-degree angle to the wall.
Start at low speed to create a shallow guide hole. Continue gradually until the hole reaches the required depth. Avoid forcing the drill because excessive pressure can damage the bit, enlarge the hole, or cause the drill to slip.
Every 15 to 20 seconds, withdraw the bit briefly to release dust and reduce heat buildup.
4. Remove Dust from the Hole
Concrete dust can prevent the anchor from gripping the wall correctly. After drilling, use a vacuum cleaner or air blower to remove the dust from the hole.
A clean hole gives the anchor better contact with the concrete and helps reduce future movement.
5. Insert the Wall Anchor
Choose an anchor that matches the drill-bit diameter and the artwork’s weight. Tap the anchor gently into the hole until it sits level with the wall surface.
Do not use a damaged, loose, or undersized anchor. For heavier artwork, select a heavy-duty anchor or a professional fastening system designed for concrete.
6. Install the Screw and Hang the Artwork
Drive the matching screw into the anchor, leaving enough space for the frame hook or hanging bracket.
Lift the artwork carefully onto the screw or bracket. Once it is in position, check the frame with a spirit level and make small adjustments until it sits straight and flush against the wall.
For more artwork styles and material options, browse the WallArtura wall art collection, which includes oil paintings, canvas wall art, porcelain wall art, wood wall art, and metal wall art for residential and commercial interiors.
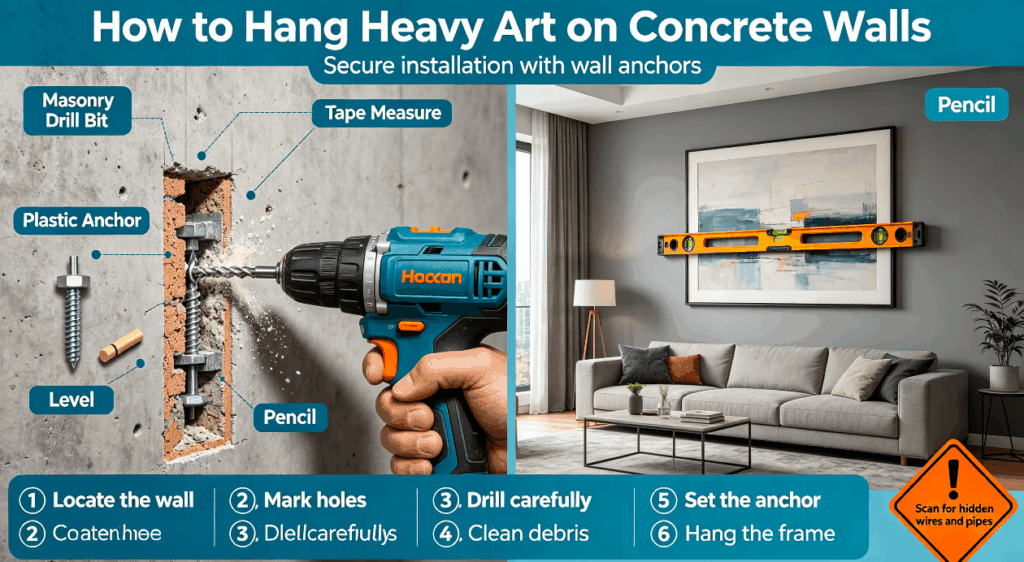
Lightweight No-Drill Options
Small and lightweight frames may be suitable for adhesive hooks or removable hanging strips. However, the wall must be clean, dry, and smooth, and the product’s stated weight limit must not be exceeded.
These options are temporary solutions. They are not recommended for large oil paintings, porcelain wall art, deep frames, or valuable artwork.
Maintenance and Safety Checks
Inspect the hanging points occasionally, especially in humid areas or locations with vibration. Keep the wall dry and remove surface dust before installation.
For older concrete walls, check for cracks, loose plaster, or hollow areas. If the base material is damaged, the anchor may not hold securely. Large and heavy artwork should receive professional installation when the wall condition or load is uncertain.
Conclusión final
Concrete wall installation requires more preparation than ordinary picture hanging. For medium and heavy wall art, the most dependable process is checking the wall, marking the position, drilling with a masonry bit, cleaning the hole, installing a suitable anchor, and checking the final alignment.
When each step is completed carefully, your artwork can remain stable, level, and visually secure for long-term home decor or home design applications.