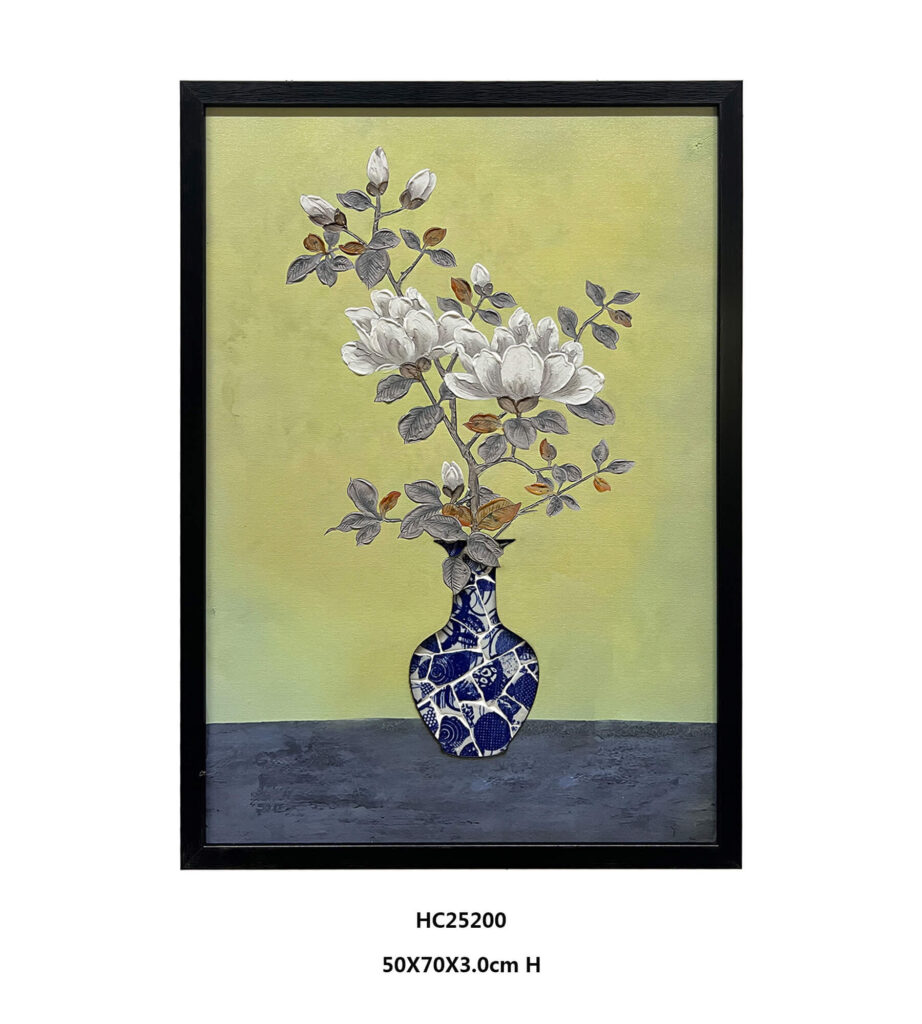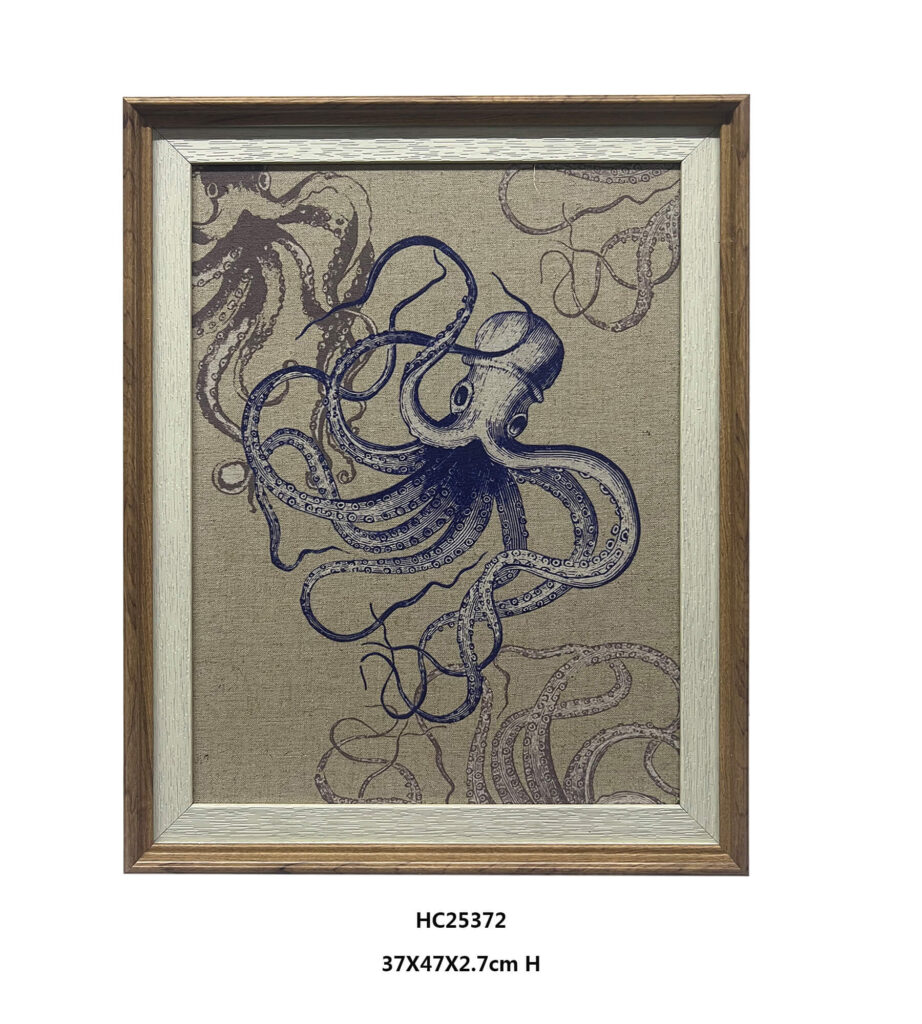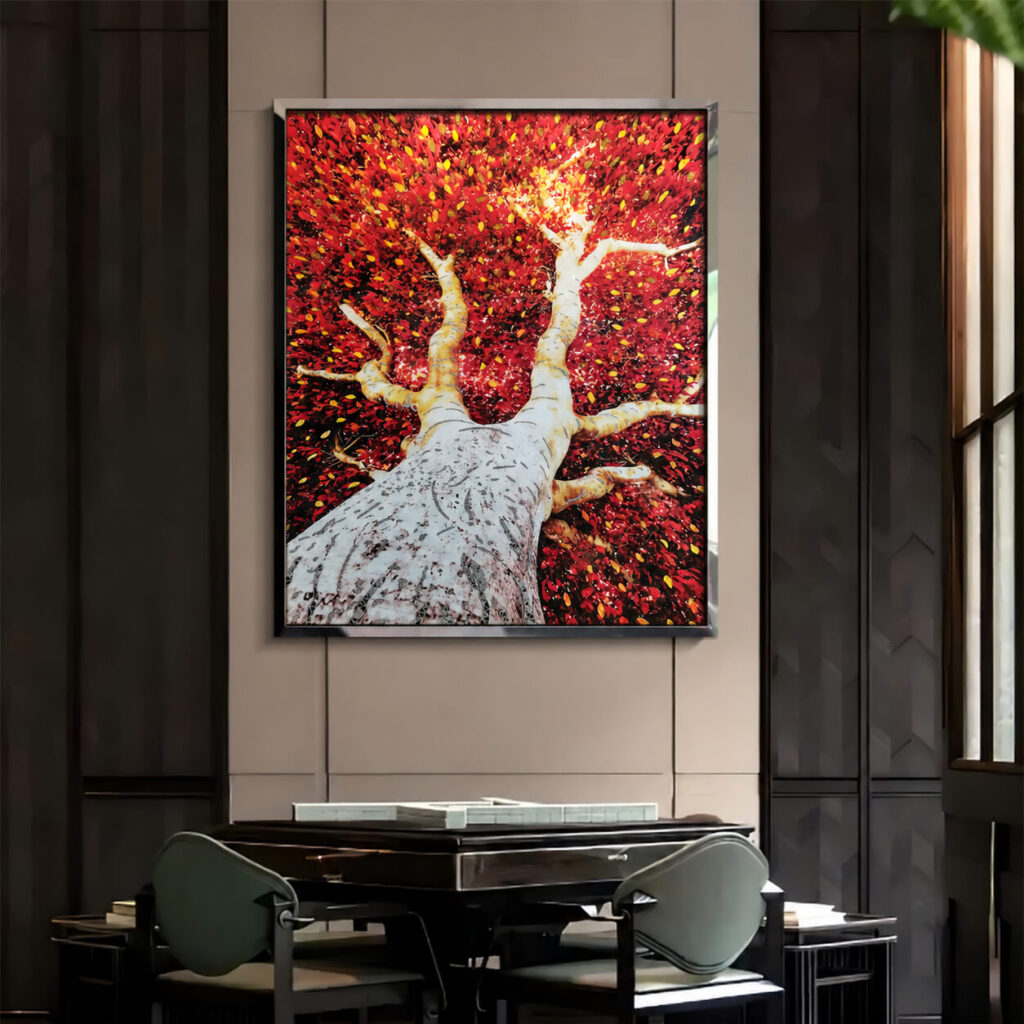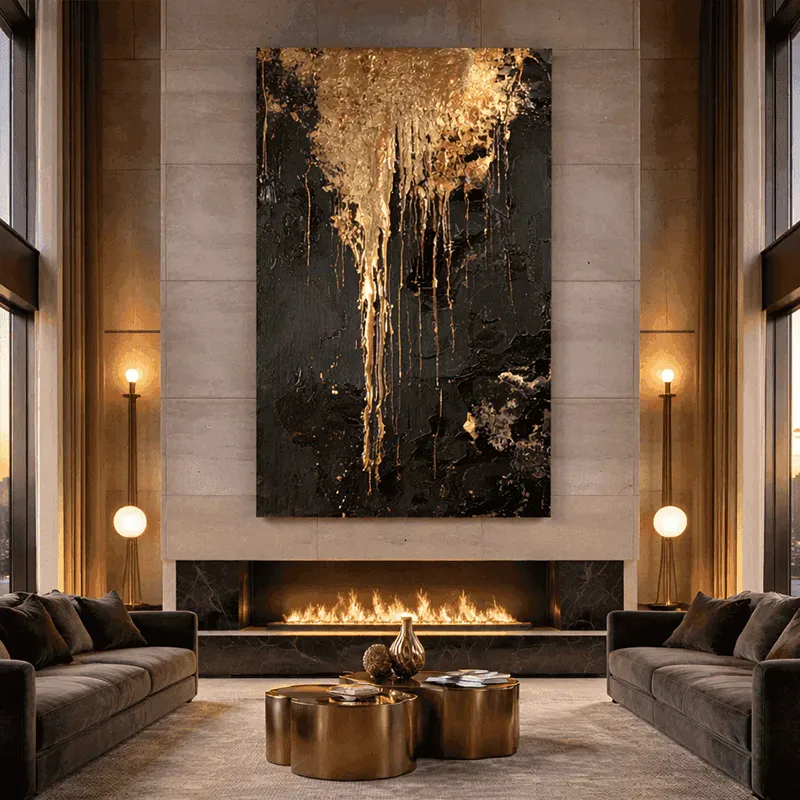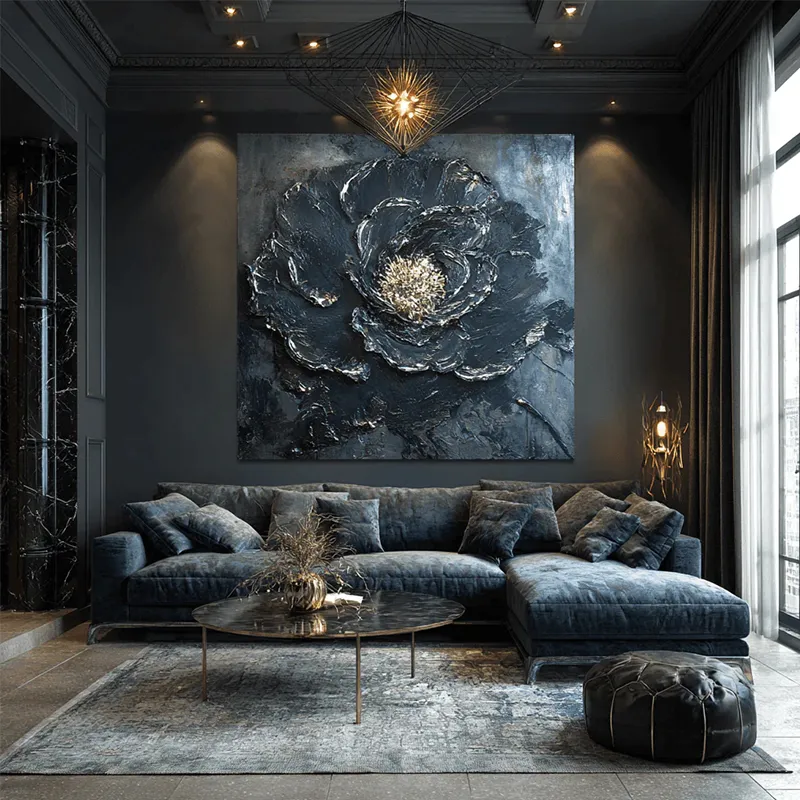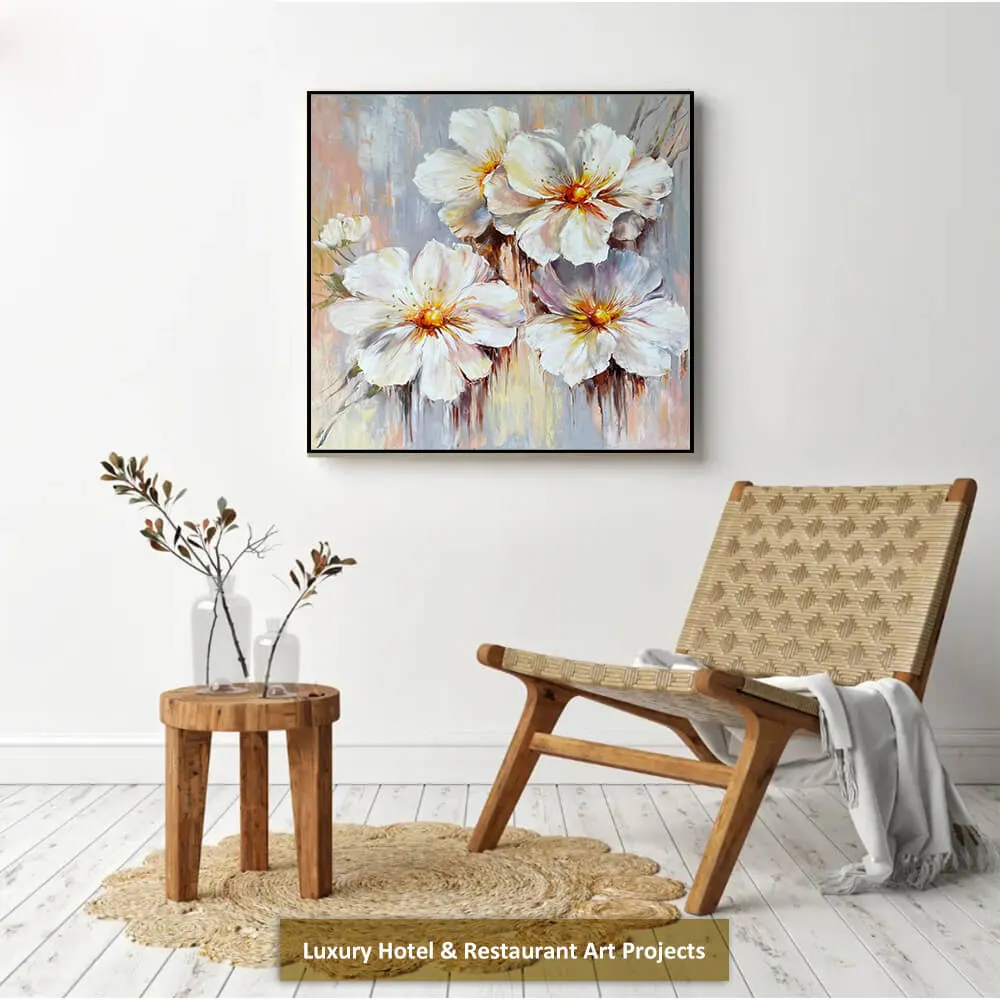
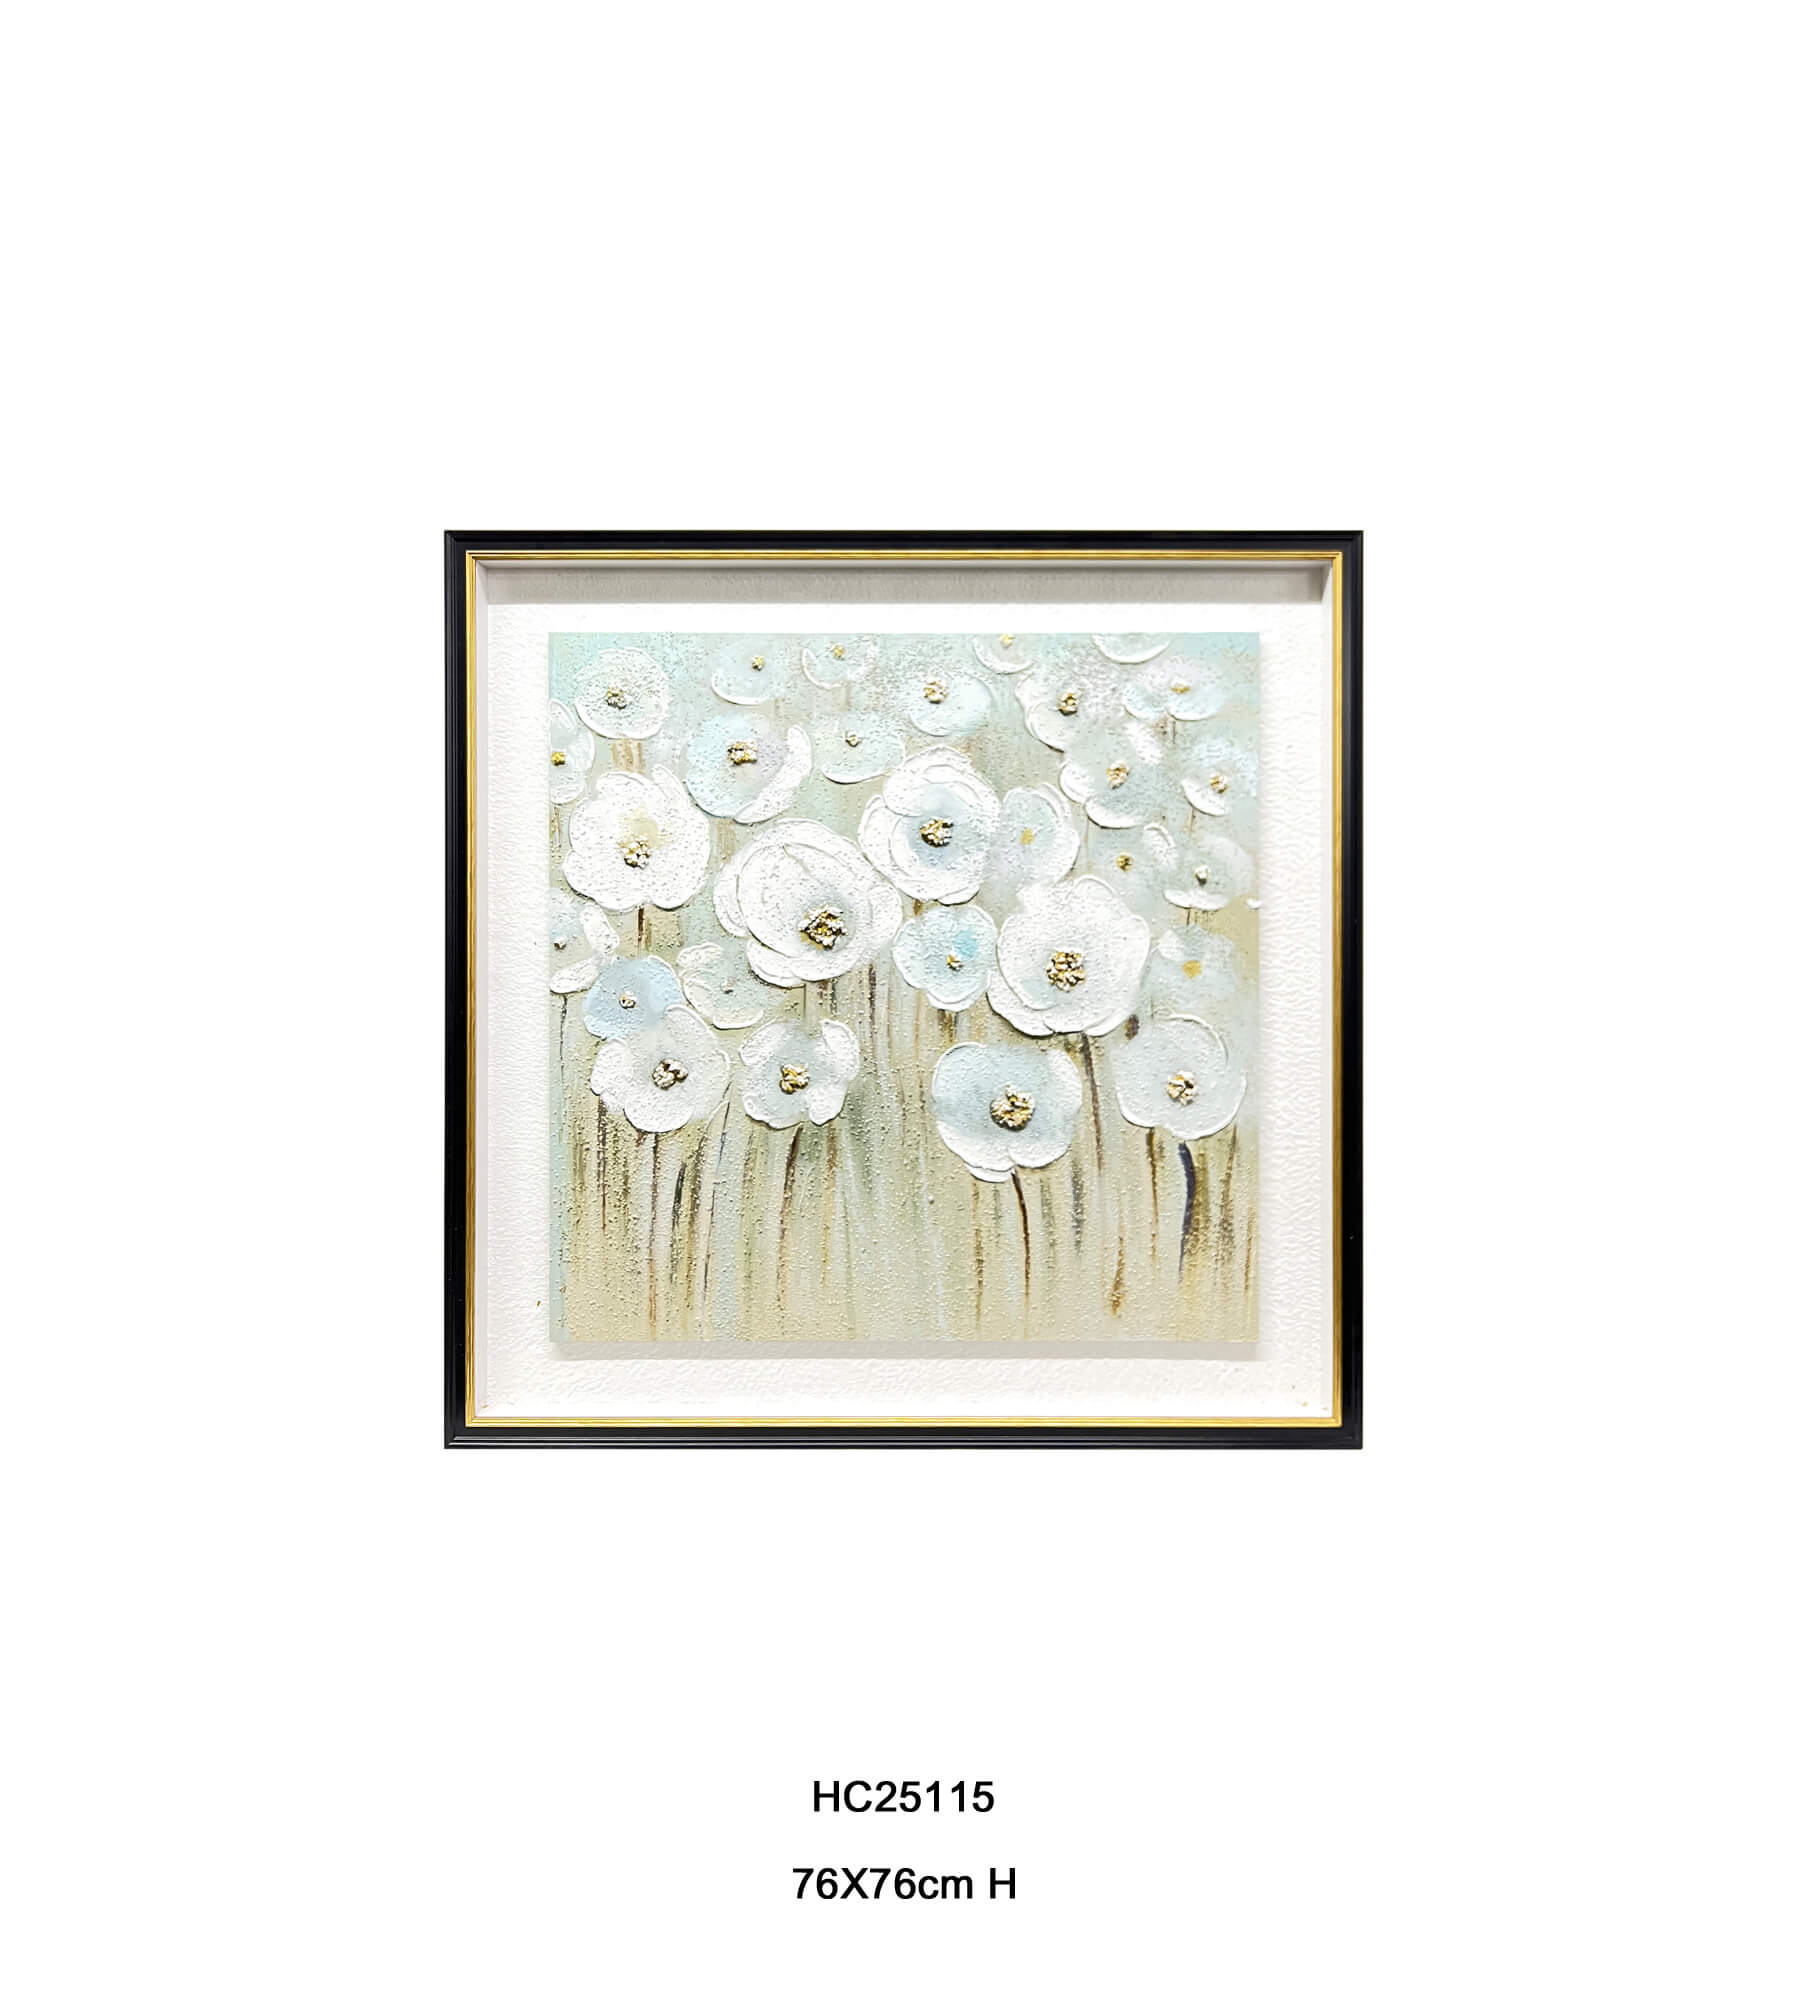
Textured wall art is a very popular form of wall decoration in modern interior design in recent years.
Unlike traditional flat printed paintings or photographic works, its biggest feature is its strong three-dimensionality, tactile layers, and light and shadow variations. This art form is not only something to “see,” but also something to “feel.”
Creating textured wall art is a very popular and fun craft activity. It’s not only relatively inexpensive, but it can also be completely customized to your room’s style and preferences.
Below is a complete beginner’s guide, taking you from preparing materials to completing your artwork:
How Do You Make Textured Wall Art?
I. Preparing Tools and Materials
To create a classic 3D textured painting, you will typically need the following materials:
-
Canvas:
-
It is recommended to choose a cotton stretched canvas, with a thickness of 1.5 cm or more for thicker edges, to enhance the three-dimensional effect.
-
Beginners can start practicing with small to medium sizes, such as 30x40cm or 40x50cm.
-
-
Core Texture Materials:
-
Lightweight Plaster or Joint Compound. (You can learn more about the chemical properties of plaster on Wikipedia’s Plaster entry).This is the most commonly used, cost-effective, and crack-resistant material after drying.
-
-
Sculpting Tools:
-
Palette Knives: Used for applying, smoothing, and cutting lines (it’s recommended to buy a set of different sizes).
-
Comb: Essential for creating wavy or striped patterns.
-
Old Toothbrush, Sponge, Comb, or Discarded Credit Card: Used to create special textures.
-
-
Painting Materials (Optional):
-
For a pure white or natural beige finish, the plaster itself dries to a beautiful matte white.
-
If you want to add color, you can prepare acrylic paint or latex paint.
-
-
Protective Agent (Optional):
-
Use matte Varnish or spray-on protective varnish. Apply a layer after the painting has dried to prevent dust accumulation.
-
II. Basic Production Steps
Step 1: Conceptualization and Texture Design
Before you begin, determine the visual effect you want. Common introductory textures include:
-
Mountain/Wave Texture: Use a palette knife or notched scraper to create undulating lines, conveying a sense of flow.
-
Geometric Minimalist Style: Use a large palette knife to create large areas, or use washi tape to create geometric shapes on the canvas, then peel it off after applying plaster.
-
Organic Rough Texture: Freely stack and pat with a palette knife to create textures similar to rock or a rough wall.
Step 2: Primer and Shaping
-
Priming: Use a palette knife to scoop out an appropriate amount of plaster and place it on the canvas.
-
Stacking: Don’t strive for absolute flatness; boldly use the palette knife to spread the plaster. For a more substantial, three-dimensional effect, apply a thicker layer in certain areas (note: thicker areas dry slowly and are prone to cracking; a single layer thickness is generally recommended to be less than 1cm).
-
Creating Texture:
-
Use a notched scraper to draw straight lines or wavy curves at a consistent speed.
-
Use the side of a palette knife to press out petal or feather patterns.
-
You can also gently pat the surface with a sponge to create a fine grainy texture.
-
Step 3: Air Drying
-
Lay the canvas flat in a well-ventilated, shady place and allow it to air dry naturally (usually 24 to 48 hours, depending on the thickness of the plaster).
-
Note: Do not use a hairdryer or direct sunlight to accelerate drying, as this can easily cause the plaster surface to crack and warp.
Step 4: Sanding and Painting (Optional)
-
Sanding: After drying, if some edges feel too rough or burr-like, you can gently sand them with fine sandpaper to make them smoother.
-
Coloring:
-
If you prefer a pure, modern creamy look, you can leave the plaster in its dry, off-white/beige color.
-
For a specific color, you can dilute acrylic paint with water and brush it on, or use dry brushing to apply a layer of gold or vintage earth tones to raised areas to add depth.
-
Step 5: Setting and Protection
-
After it’s completely dry and the coloring is complete, spray on a matte protective spray to prevent dust from accumulating and being difficult to clean later.
III. Practical Tips for Beginners
-
Don’t strive for perfection: The charm of texture painting lies in its “imperfections” and the marks of handcrafting. Slightly crooked lines actually add to its artistic appeal and vitality.
-
Mixing Paint and Plaster: To create a colored texture, squeeze acrylic paint directly into the wet plaster, stir well, and then apply. This way, even with minor bumps and scratches, the white base won’t show through.
-
Protecting Surroundings: When working, remember to place an old newspaper or plastic wrap on the work surface, as the plaster is difficult to clean once dry.
This is a very therapeutic and rewarding craft activity. If you’re looking to add a unique decorative painting to your home, why not give it a try this weekend!If you require ready-made textured decorative paintings, you can also browse our website’s decorative painting collection to find your favorite products or contact us for custom orders.