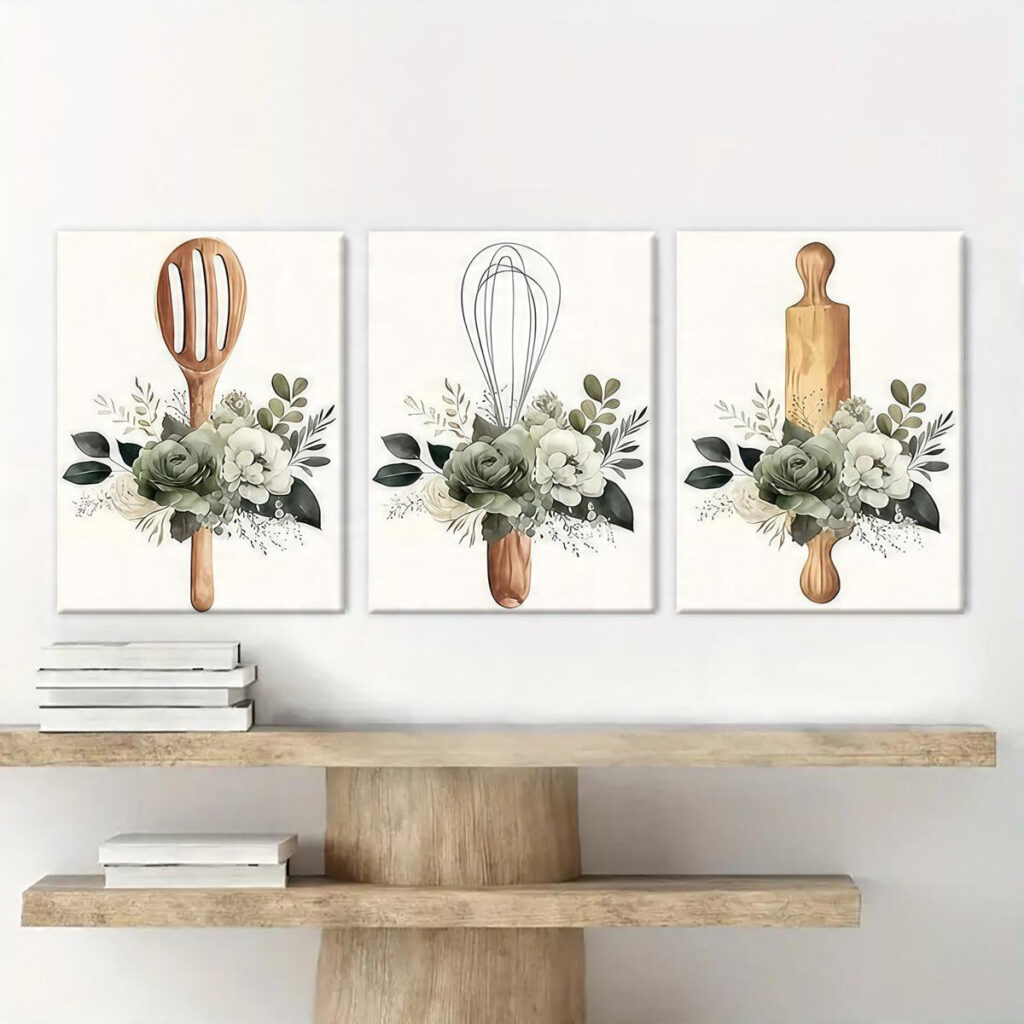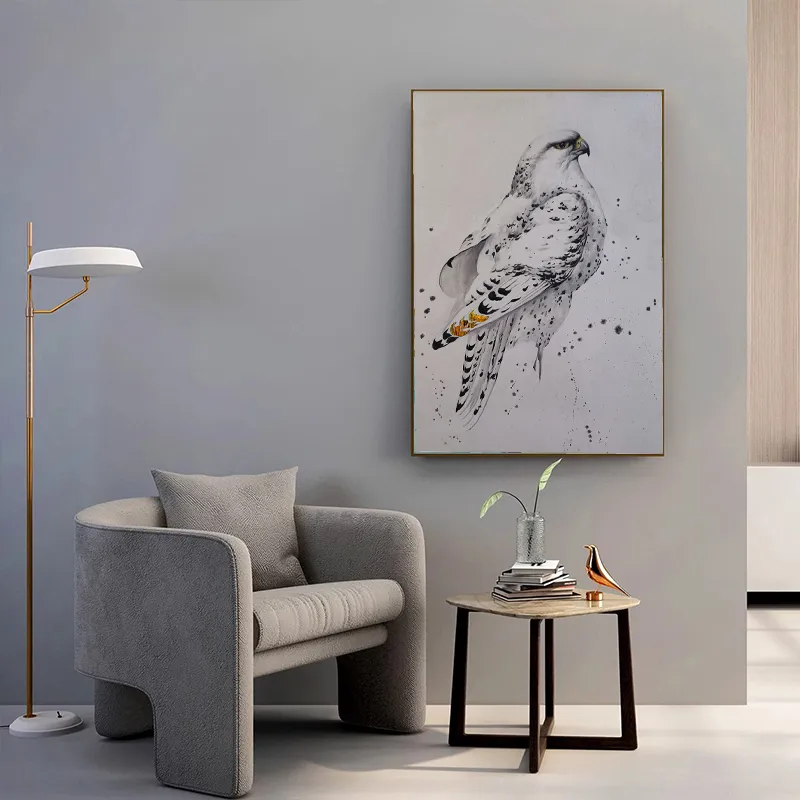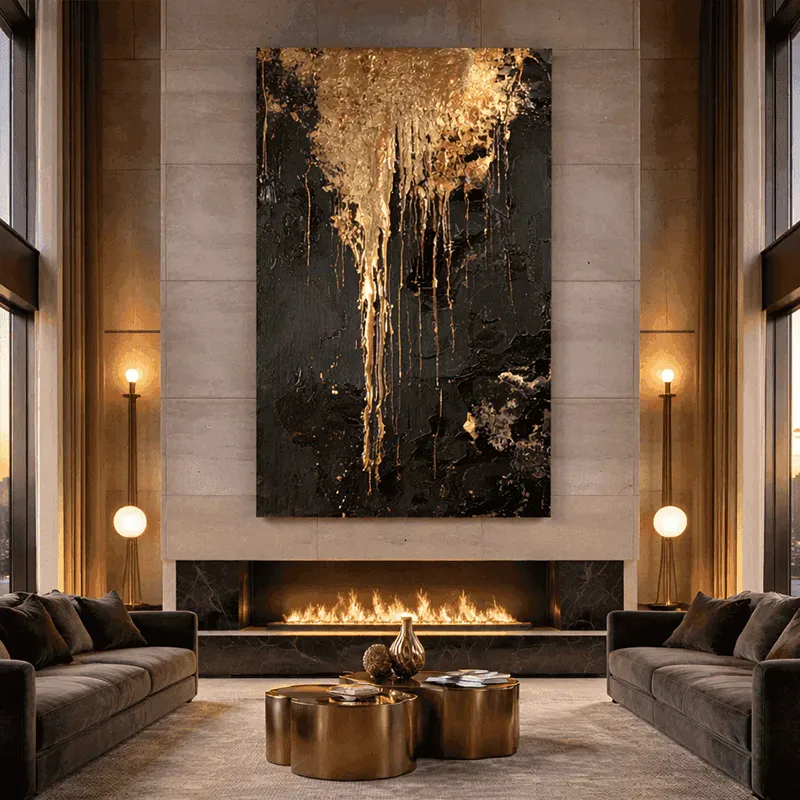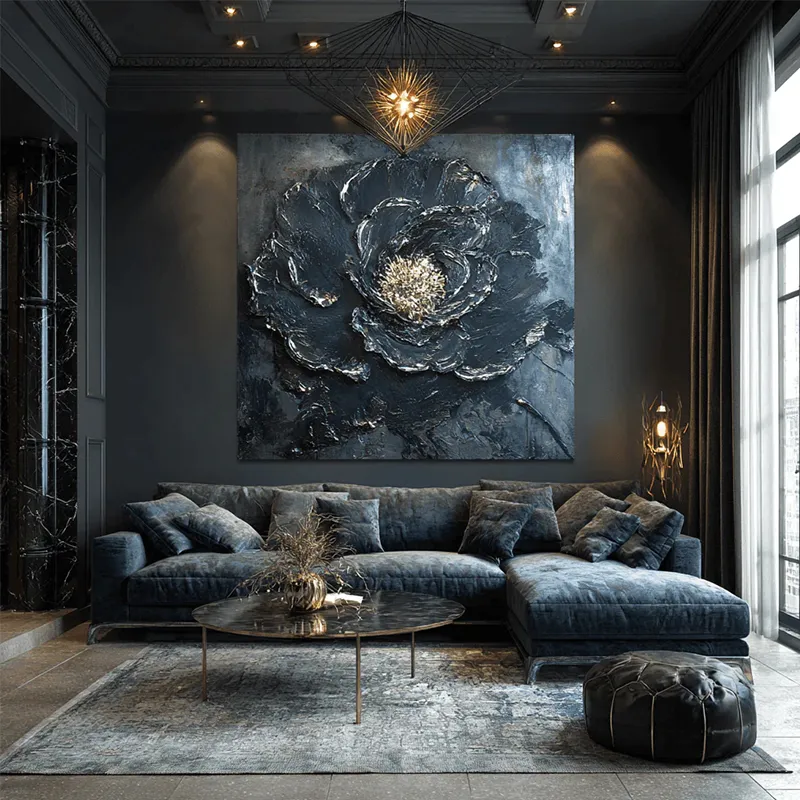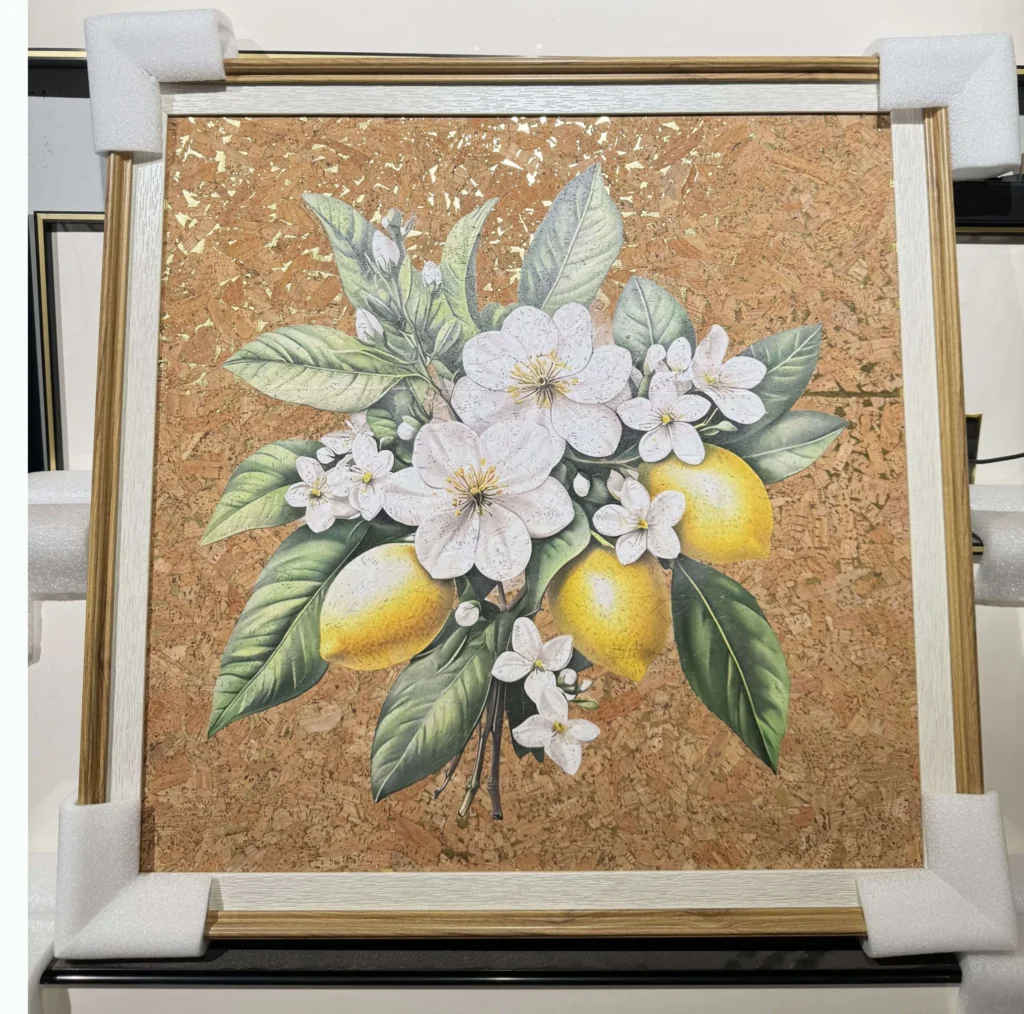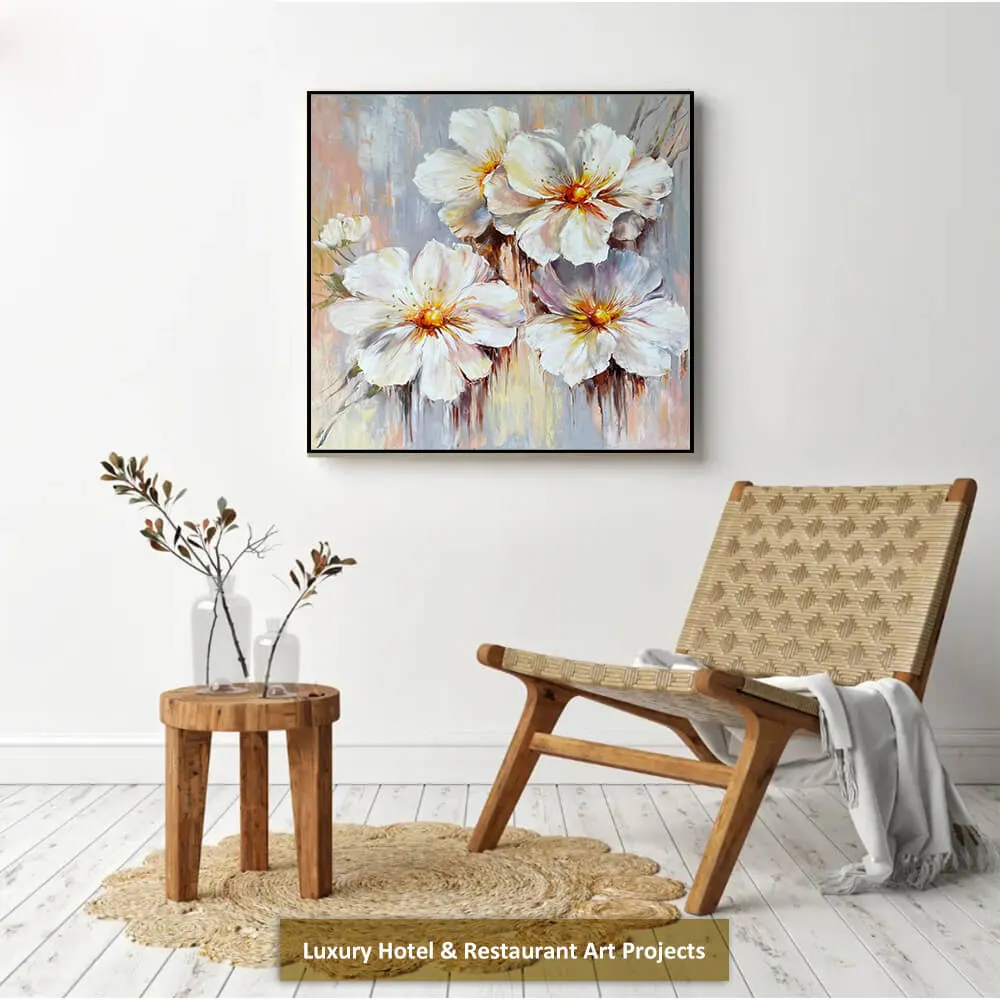
Large porcelain wall art combines a substantial frame with delicate raised ceramic details. Safe ownership starts with careful unpacking, continues through accurate wall mounting, and depends on gentle maintenance after display. Knowing how to install porcelain wall art correctly helps protect both the artwork and the wall supporting it.
A Clear Guide to Porcelain Wall Art Setup and Long Term Care
Porcelain wall art is heavier and more fragile than a canvas print of the same size. Its mosaic fragments, flowers, leaves, and other ceramic details may extend outward from the backing. Therefore, these decorations should never support the artwork’s weight during unpacking, lifting, or installation.
The process is easier when two people work together, handle only the frame, and confirm the wall structure before drilling.
Porcelain Construction and Safe Handling
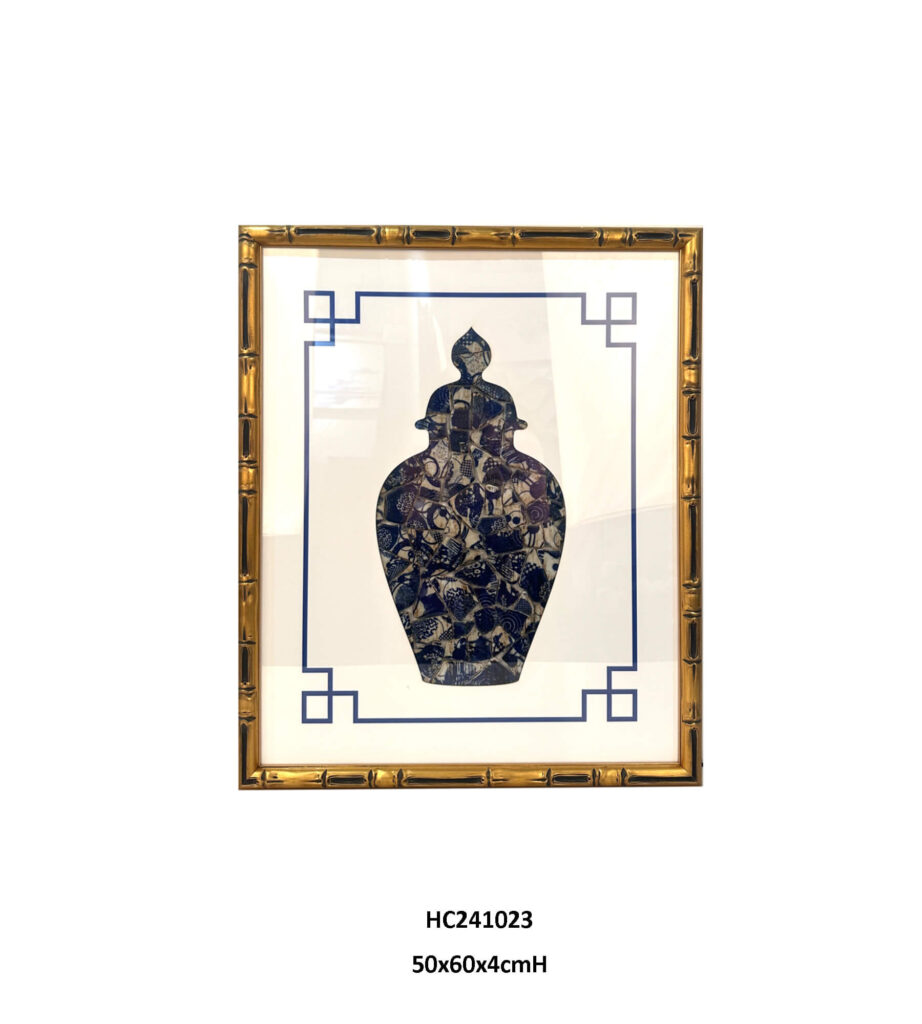
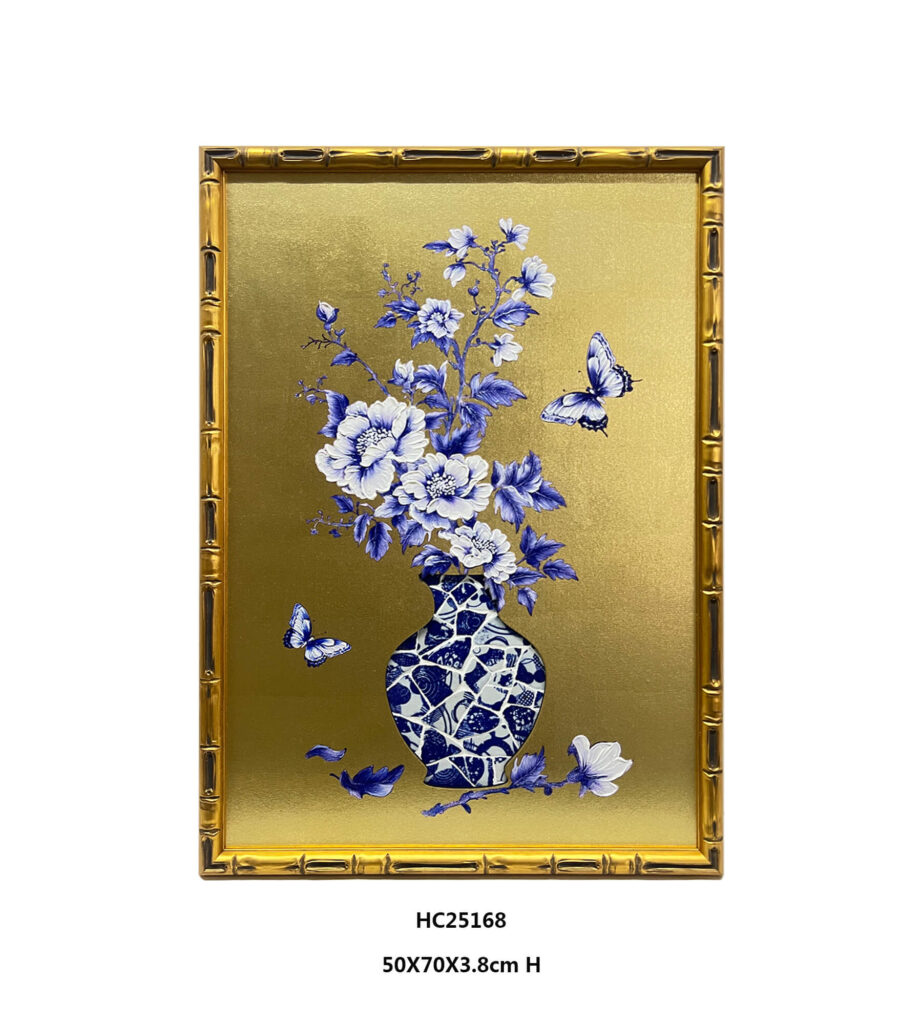
The porcelain wall art collection includes framed shard mosaics and decorative panels with raised ceramic elements. These pieces are attached to a structural backing, while the outer frame carries most of the weight during handling.
Porcelain is hard but brittle. A sharp impact may crack an edge or loosen a raised detail. In addition, a wide frame may bend if someone lifts it from only one side.
Always carry large porcelain wall art with one person holding each side of the frame. Never lift it by a ceramic decoration, hanging wire, or single corner. Do not place the artwork face down or lean its decorated surface against a wall.
Protected Delivery and Careful Unpacking
Protective packaging is designed to support the frame without pressing against the porcelain. A firm board behind the artwork helps keep the panel stable. Meanwhile, a separate front guard remains above the highest ceramic detail, creating an empty no-contact space. Fitted cushioning then limits movement inside the reinforced carton or crate.
The broader oversized wall art shipping guide explains how package dimensions, freight methods, residential access, and last-mile delivery affect large artwork. Customers mainly need to inspect the shipment and unpack it carefully.
Before opening the package, examine every visible side. Photograph punctures, crushed corners, moisture marks, or broken crate panels while the shipment is still closed. If the delivery requires a signature, record obvious external damage before accepting it without comment.
Move the package to a clean, dry, level area with enough room for two people. Open it only from the marked side. If a cutting tool is required, keep the blade shallow and near the outside edge.
Remove the outer cushioning first. When the rigid front guard becomes visible, lift it upward without pushing it toward the porcelain. Next, have one person hold each side of the frame and place the artwork face upward on a padded surface.
Inspect the frame, backing, hanging points, and ceramic details. Keep the carton, foam, crate, and delivery labels until the artwork’s condition has been confirmed.
Wall and Room Preparation
Open the supplied mounting kit and keep the product instructions nearby. Do not mix its brackets, screws, or anchors with unrelated household hardware.
Next, identify the mounting system on the back of the artwork. It will normally use either two separate hanging points or a horizontal rail. A horizontal rail is a straight bracket that supports the frame across a wider area.
You must also identify the wall construction. Common wall types include drywall, drywall over wood studs, metal studs, brick, and concrete. A wall stud is a vertical structural support located behind drywall. Mounting into a suitable structural support generally offers greater stability than fastening into an unknown hollow section.
Different walls require different anchors. An anchor is a fixing inserted into the wall to help hold a screw securely. Use only the mounting method specified for the identified wall and artwork weight. If you cannot identify the wall or suspect hidden pipes and wiring, contact a qualified installer before drilling.
Choose a position away from doors, narrow walkways, strong heat, constant moisture, and furniture that could strike the frame. Make sure two people have enough space to lift the artwork without touching nearby objects.
Step-by-Step Porcelain Wall Art Installation
1. Inspect the Artwork and Mounting Kit
Keep the artwork face upward on a clean blanket, foam pad, or other smooth surface. Check that the frame, backing, rear hanging points, and raised porcelain details remain secure.
Lay out the supplied mounting components and compare them with the product instructions. Confirm which parts attach to the wall and which parts are already fixed to the frame.
Do not remove permanent frame hardware unless the instructions specifically require it.
2. Confirm the Wall and Mounting System
For drywall, use a wall detector or stud finder to locate wood or metal supports behind the surface. The same tool may help identify concealed wiring or pipes, depending on its functions.
Brick and concrete require suitable masonry anchors and drill bits. Hollow drywall requires anchors rated for the wall type and artwork weight. Metal studs may need a different fixing method.
Stop the installation if the supplied mounting method does not match the wall construction or if the wall condition appears weak or damaged.
3. Choose the Final Position
Stand in front of the wall and select the visual center of the artwork. Consider the viewing height, nearby furniture, switches, lighting, and open space around the frame.
Mark the planned center lightly with a pencil. Measure half of the artwork’s width to the left and right. These temporary marks show where the outside edges will sit.
Two people can briefly hold the artwork in front of the wall to confirm the position. Keep holding it by the frame, and return it to the padded surface before measuring the rear hanging points.
4. Measure and Mark the Mounting Points
If the frame has two separate hangers, measure the horizontal distance from the center of the left hanger to the center of the right hanger.
Next, measure vertically from the top of the frame to the center of a hanger. This measurement shows how far below the planned top edge the wall fasteners must sit.
Return to the wall center mark. Divide the distance between the two hangers by two. Measure that amount to the left and right of the center line, and mark both positions.
Use a level to confirm that the marks are at the same height. A level is the tool containing a liquid bubble that shows whether a line is horizontal.
If the artwork uses a horizontal mounting rail, center the wall section of the rail beneath the artwork’s center mark. Hold the rail level and mark its fixing holes.
Measure everything again before drilling. A small error may prevent the two hanging points from connecting correctly.
5. Check for Structural Support and Hidden Services
Use the wall detector to check each planned drilling point. Avoid drilling directly above, below, or close to an electrical outlet unless the hidden area has been checked.
Where the mounting design allows, align the fasteners with appropriate structural supports. If the position falls between supports, use only anchors suitable for that wall and the artwork’s total weight.
Do not continue if the detector indicates hidden services at the planned location. Move the artwork to a safe position or consult a professional.
6. Install and Check the Wall Hardware
Wear eye protection before drilling. Hold the drill perpendicular to the wall so the hole does not enter at an angle.
Drill at the marked positions and insert the appropriate anchors when required. Attach the screws, hooks, or mounting rail according to the product instructions.
Tighten the hardware until it sits securely against the wall. Do not keep tightening if an anchor begins to rotate freely or damage the wall surface.
Place the level across the two fasteners or mounting rail. Correct any alignment problem before lifting the artwork.
Finally, apply controlled hand pressure to the installed hardware. It should not rotate, pull away, or move from side to side. Do not test it by hanging from it or applying your full body weight.
7. Lift the Artwork with Two People
One person should stand at each side of the frame. Use clean, dry hands and agree on the movement before lifting.
Grip the outer frame along the sides and lower edge. Do not place fingers on the ceramic decorations.
Lift at the same time and keep the artwork upright. Move slowly toward the wall while maintaining an even height on both sides.
If either person loses a secure grip, return the artwork to the padded surface instead of attempting to reposition it in the air.
8. Connect the Frame to the Wall Hardware
For two hanging points, guide both rear brackets toward their matching wall fasteners. Keep supporting the frame until both sides have connected fully.
For a horizontal rail, lift the artwork slightly above the wall-mounted section. Move the frame toward the wall and lower it slowly until the rear section is seated across the rail.
Do not release the artwork until both people confirm that the mounting system has engaged. If the product includes an anti-lift lock or safety screw, secure it after the frame is in place.
9. Level the Artwork and Complete the Safety Check
Place the level along the top of the frame. If adjustment is necessary, lift the frame slightly and reposition it. Never push against the porcelain surface.
Apply light pressure only to the frame edges. The artwork should not rock forward, slide sideways, or lift easily from its support.
Step back and inspect the position from several angles. Make sure the frame does not interfere with doors, furniture, switches, or normal walking paths.
If the artwork remains unstable, the hardware feels loose, or two people cannot manage its weight safely, remove it carefully and arrange professional installation.
Cleaning and Long Term Care
Dust the artwork with a clean, dry, soft-bristle brush. Work gently from the upper area downward so loosened dust falls away from the surface. Avoid pressing the brush into narrow gaps between porcelain pieces.
A cleaning cloth may catch on sharp edges or raised decorations. The Canadian Conservation Institute’s ceramic-care guidance also recommends caution with cloths and identifies a soft brush as a suitable way to remove loose surface dirt.
Do not spray water, glass cleaner, alcohol, polish, or household detergent directly onto the artwork. Even when the porcelain is glazed, liquid may enter the joints or reach the adhesive, backing, and frame.
Keep the artwork away from constant steam, damp walls, heating vents, fireplaces, and prolonged strong sunlight. Porcelain itself is stable, but the frame, backing, adhesive, and decorative finishes may respond to moisture, heat, and light.
Periodically check that the frame remains level and that the mounting hardware feels stable. Inspect it again after an accidental impact, nearby construction, or any event that causes wall vibration.
If a porcelain detail becomes loose, do not pull it away or apply household glue. Leave the area untouched and contact the supplier or a qualified repair professional.
When moving the artwork, use two people and handle only the frame. Return it to a padded, face-up surface after removal. Careful handling, secure installation, and gentle dry cleaning will help preserve large porcelain wall art for long-term display.