Trying to hang art on plaster walls can turn a simple decorating job into a stressful project. One hard hammer strike may chip the finish or start a crack around the nail. Traditional plaster is harder and more brittle than modern drywall, so it needs a different approach.
How to Hang Art on Plaster Walls Without Cracking Them
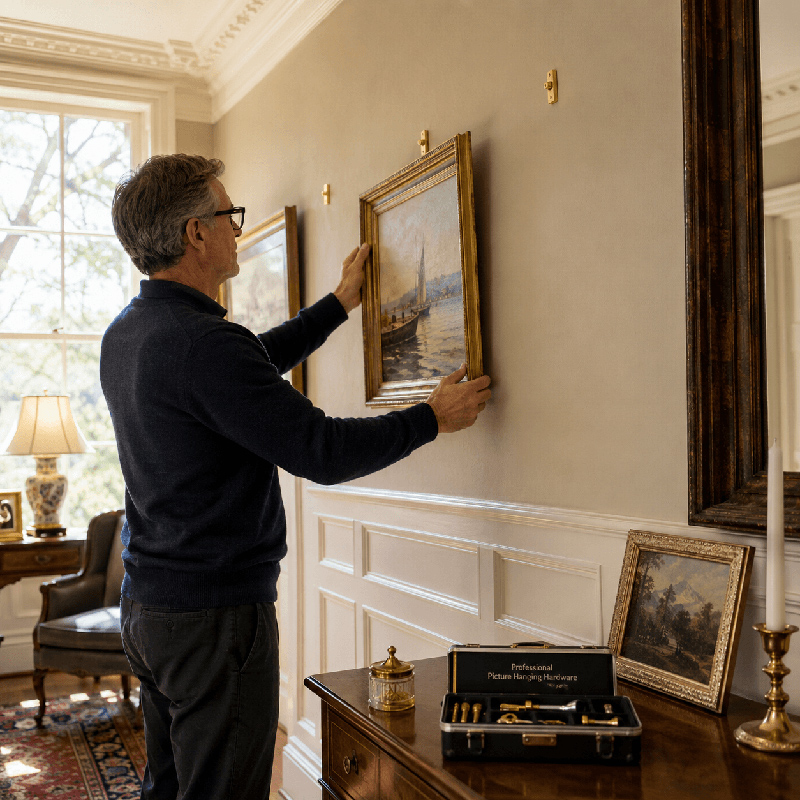
The good news is that you can hang everything from small prints to heavy mirrors safely. The key is choosing hardware based on the artwork’s weight and the wall structure.
Many older homes use lath-and-plaster construction. Thin wood strips are fastened across wall studs, then covered with layers of wet plaster. Some plaster pushes between the strips and forms “keys” behind the lath, helping hold the finished wall in place. The National Park Service documents this traditional construction in its guidance on historic plaster walls.
Why Are Plaster Walls So Tricky?
This construction can last for decades, but aged plaster may be brittle. A thick nail driven straight into it concentrates impact in one area. That can create chips or disturb weak plaster around the hole.
Plaster walls also vary in thickness and density. Old repairs, metal mesh, uneven plaster keys, and hidden fasteners can make them harder to scan than drywall.
Essential Tools You Will Need
- Painter’s tape
- Pencil, tape measure, and level
- Strong magnet or metal-scanning stud finder
- Variable-speed drill
- Sharp carbide, HSS, or suitable masonry drill bits
- Plaster-rated picture hooks
- Screws and rated hollow-wall anchors
- Picture wire or D-rings
- Safety glasses
Method 1: The Best Way to Hang Lightweight Art on Plaster Walls (Under 5 lbs)
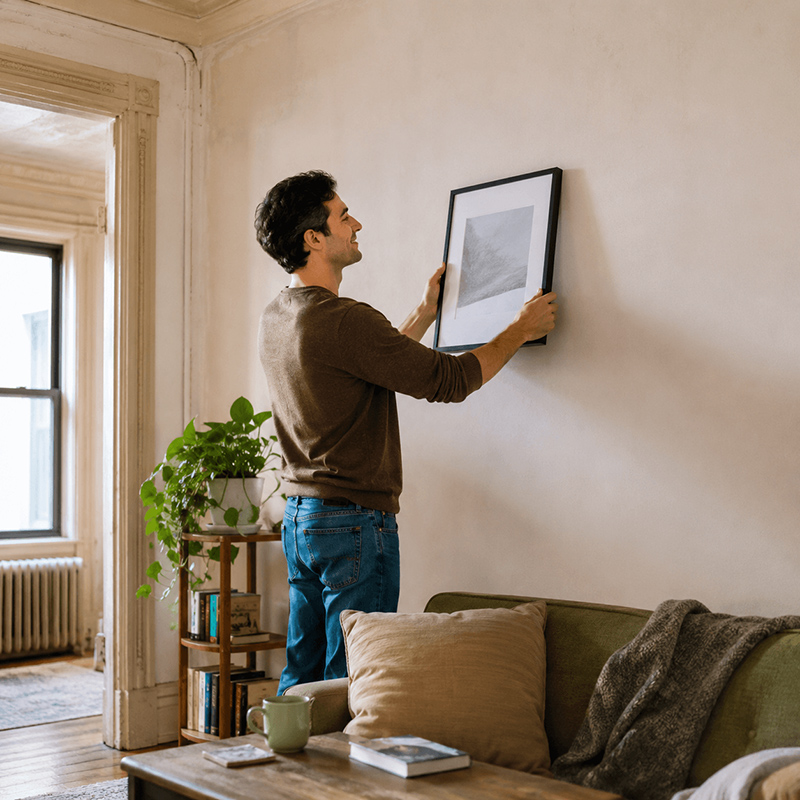
For small prints, lightweight canvases, or photo frames, adhesive hanging products may be the easiest option.
Picture-hanging strips work best on clean, sound finishes. 3M instructs users to prepare the wall with rubbing alcohol and to let fresh paint cure before applying Command products.
However, “damage-free” does not mean risk-free on every old wall. Weak paint, chalky finishes, wallpaper, or multiple old paint layers may pull away with the adhesive. Test a hidden area first if the surface looks fragile.
Poster putty can work for very light, unframed art. Do not trust it with glass frames, valuable pieces, or anything that could cause injury if it falls.
Method 2: Hanging Medium-Weight Frames (5–15 lbs)
For medium frames, a purpose-made plaster picture hanger is usually better than a basic finishing nail.
Plaster-compatible picture hooks often use small hardened nails that enter the wall at an angle. OOK sells hardened-steel picture hangers for plaster and drywall, and its hanging guidance notes that the nails enter at an angle.
Use this installation method:
- Measure and mark the hook position.
- Place a small cross of painter’s tape over the mark.
- Position the hanger over the taped area.
- Tap the hardened nail gently with several light strikes.
- Stop if the plaster flexes, cracks, or crumbles.
- Hang the frame and confirm the hook sits firmly.
The painter’s tape trick is a useful precaution. It can help contain small surface flakes around the entry point and keeps your mark visible. It does not increase the wall’s structural strength.
Always check the hanger’s stated weight rating and installation requirements. Some published picture-hanger ratings assume attachment to a stud, so the wall material matters.
Method 3: How to Safely Hang Heavy Art and Mirrors (15+ lbs)
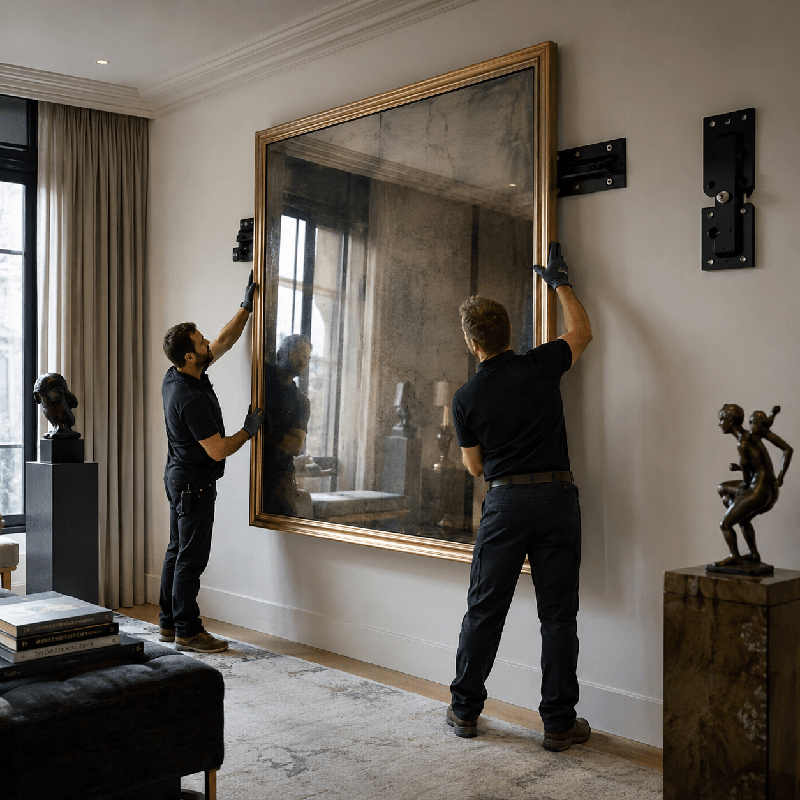
Heavy artwork needs a stronger load path. Whenever possible, secure a large frame or mirror directly to a wood stud.
Step 1: Find the Stud
Standard electronic stud finders can struggle with lath-and-plaster walls because the density behind the surface is uneven.
Zircon recommends locating the nails that fasten the wood lath to studs with a metal-scanning tool. A strong magnet can sometimes help you identify the same fasteners. Look for a vertical pattern instead of trusting one isolated hit.
This is especially useful in historic homes where an ordinary electronic stud finder produces inconsistent readings.
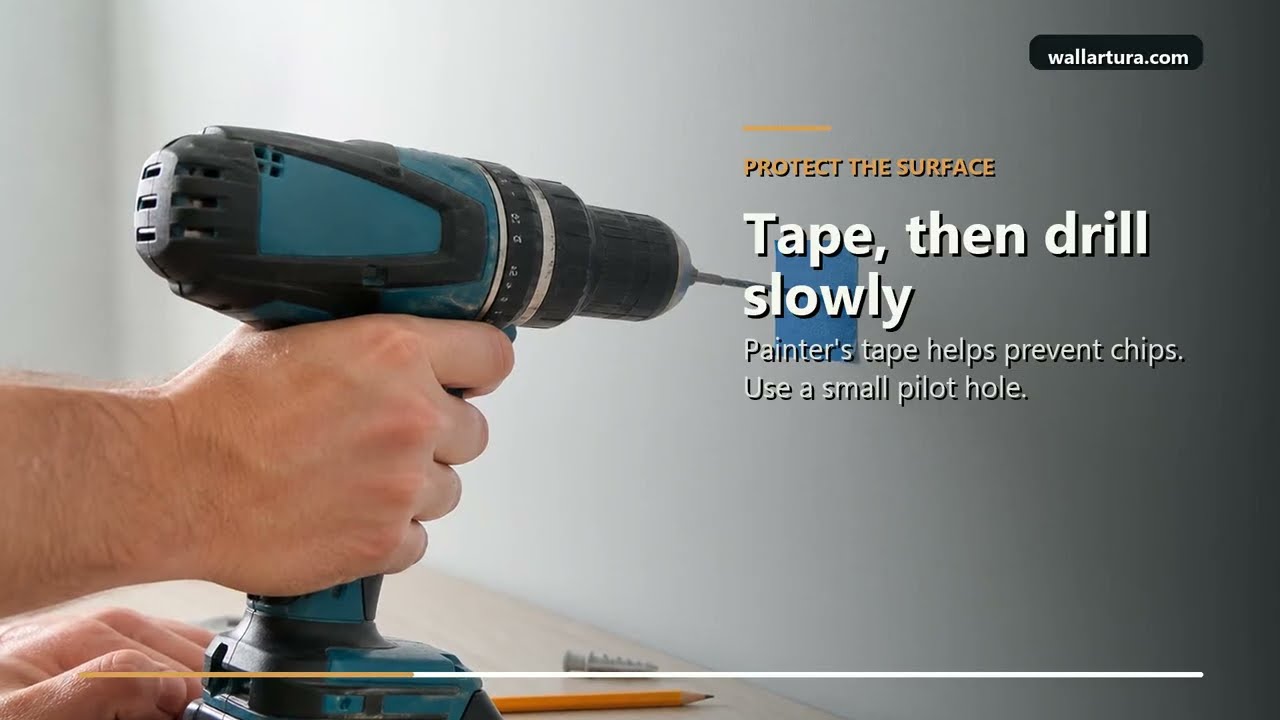
Step 2: Use the Tape Trick
Place two short strips of painter’s tape in an “X” shape over the drilling point.
This can reduce loose surface flaking and gives you a clear center mark. It is a simple step, but it can make drilling into fragile plaster much cleaner.
Step 3: Drill a Pilot Hole
Do not hammer a large screw directly through old plaster.
Drill slowly with a sharp bit and create a controlled pilot hole. If you reach a wood stud, switch to the correct bit and screw size for that fastener.
Avoid treating old plaster like concrete and attacking it aggressively with a hammer drill. The goal is to make a clean hole without sending unnecessary vibration through the surrounding finish.
Before drilling, consider hidden electrical wiring and plumbing. Tool manufacturers also warn that wall scanners are not perfect. You should not rely on a single detection method before penetrating a wall.
Step 4: Choose the Correct Anchor
If there is no stud at the required location, use a rated anchor designed for the actual wall construction.
Toggle-style anchors or metal hollow-wall anchors, often called Molly bolts, spread the load behind the wall instead of relying only on the brittle plaster face.
DEWALT, for example, specifies heavy-duty Strap-Toggle anchors for plaster and other hollow-wall materials.
The anchor must match the wall thickness, cavity depth, fastener size, and plaster condition. Never assume a generic “100 lb” weight rating applies to every old wall.
For large mirrors, valuable artwork, or weak plaster, fastening into framing is the safer choice. A properly installed French cleat attached to multiple studs can also distribute the load across a wider area.
3 Common Mistakes to Avoid When Working With Plaster
- Hammering large nails directly into plaster. Heavy impact can chip brittle finishes or loosen weak areas.
- Using standard plastic drywall anchors for everything. Hardware designed for thin drywall may not perform correctly in thick plaster and lath.
- Ignoring the weight limit. Check the artwork, hanging wire, hook, anchor, and wall condition as one complete system.
Also avoid drilling before thinking about utilities. Older homes may have been remodeled several times, so wiring and pipes may not follow modern expectations.
Conclusion: Hang Art on Plaster Walls With Confidence
The safest way to hang art on plaster walls is to work gently and match the hardware to the load. Use adhesive systems for truly light pieces, plaster-rated hooks for medium frames, and studs or properly rated anchors for heavy art.
When drilling is required, mark carefully, use the painter’s tape trick, and make a pilot hole first.
A few extra minutes of preparation can protect both your artwork and the character of an older home.